In this tutorial, I will teach you how to customize GUI from scratch. customizing GUI Texture in Bedrock Edition is an overwhelming task. especially, when you have to learn all texture components that being used for each screen.
so this tutorial will breakdown your GUI problems with the following topic:
- Where to find GUI Textures?
- Special GUI Features – Nineslice Size
- Even More GUI Features – Global Variables
this tutorial is of course, going to be divided within several parts as I’m not going to throw you everything on your face immediately. we’ll dive into the basics you need to know in order to get fully customized GUI for your resource pack project.
so, without any further ado, let’s get started!
Prerequisites:
–Bedrock Resource Pack (if you don’t have it, download here)
–Text Editor (Notepad++ / VS Code / and so on)
–Image Editor (Paint NET / any drawing app that supports pixel painting)
Where to find GUI Textures?
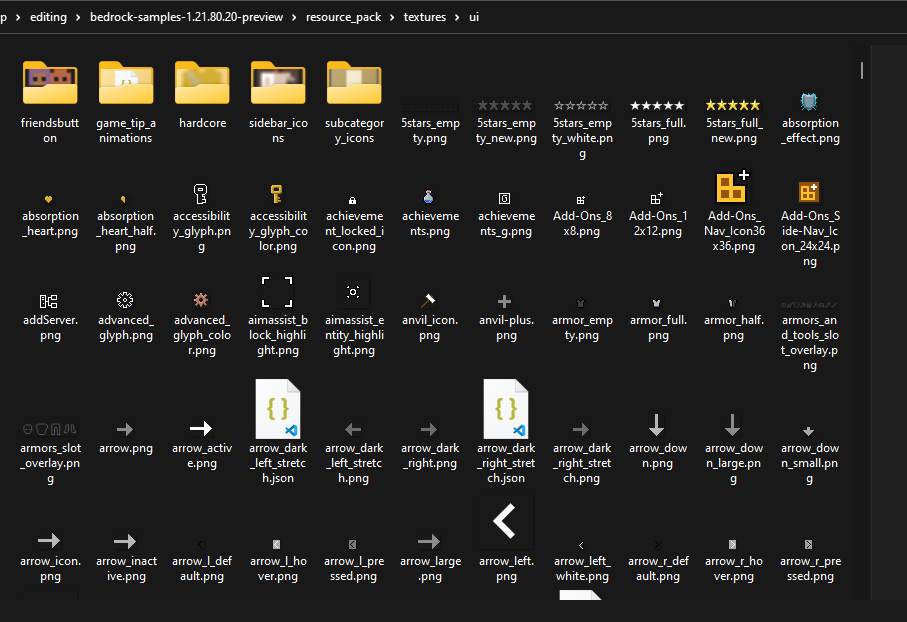
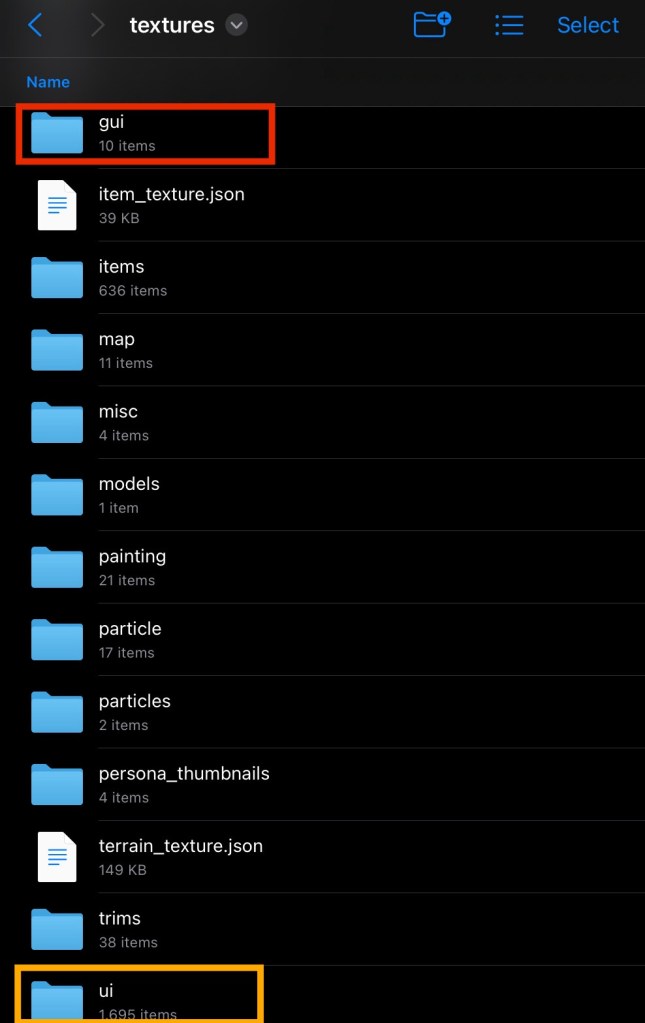
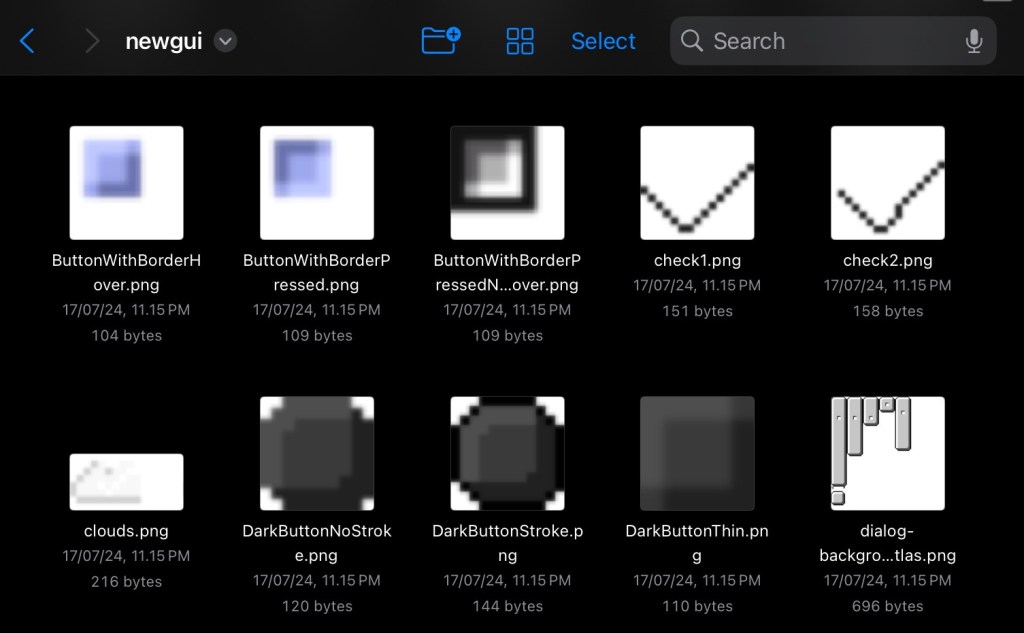
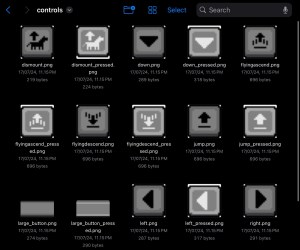
GUI texture can be found inside of “textures” folder, in “gui” and “ui” folder. these folders provide all of GUI textures that you’ll be able to customize
gui and ui Folder – The Difference
In “gui” folder, you’ll see some textures are formed in a Texture Atlas – a single image combining multiple textures for efficient rendering. This allows customization of GUI textures in one image, which is great to speeds up work, mostly for hotbar textures.
furthermore, it’s easy to navigate and customize essential stuff that used in minecraft screen since you don’t have to spend time too much on looking for texture
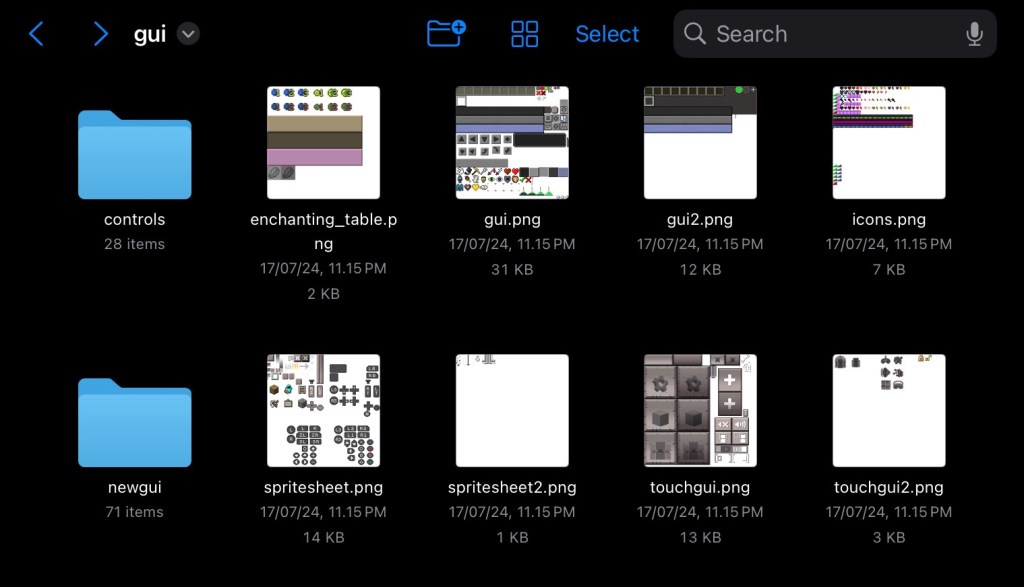
the only cons from this folder is that textures here are limited, some elements like the experience and hunger bars don’t even work – use ui folder to customize these
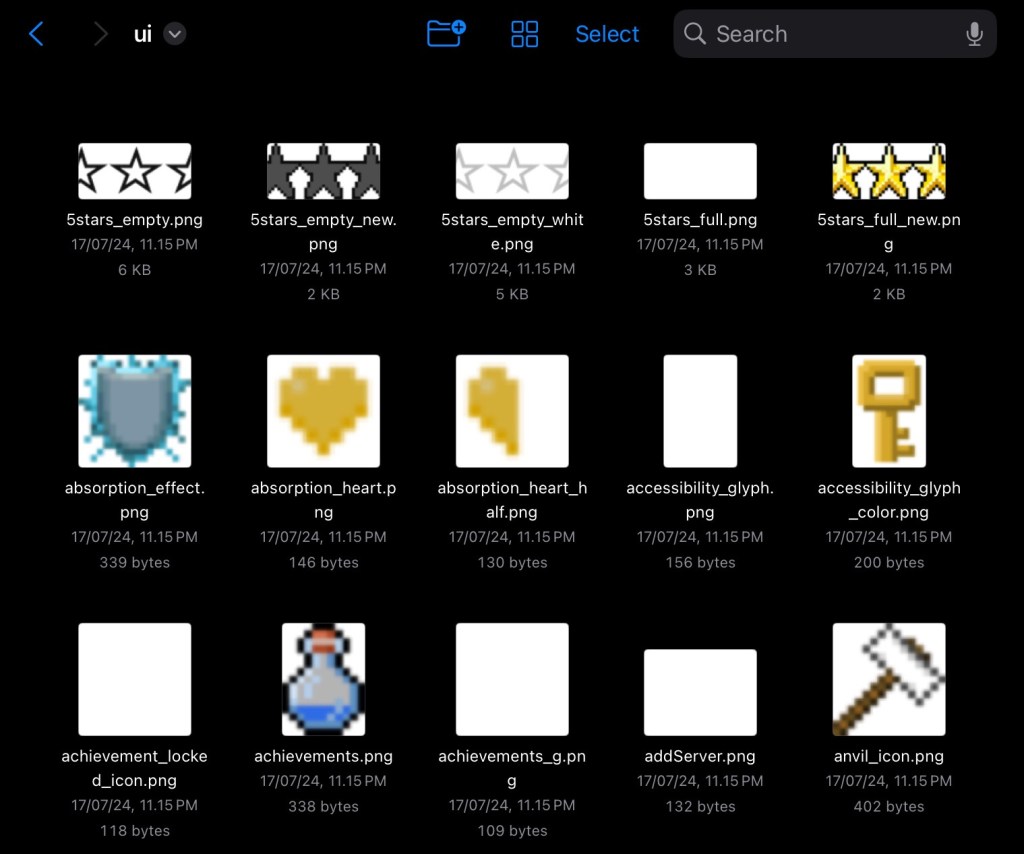
that’s why you need “ui” folder for full customization. This folder contains thousands of all gui textures in the game.
even the game itself relies on gui textures from “ui” folder which sometimes cause some errors such as potion icon glitch. making this folder important for detailed UI customization.
My Personal Method to find all GUI textures
can you figure out the name of this texture?
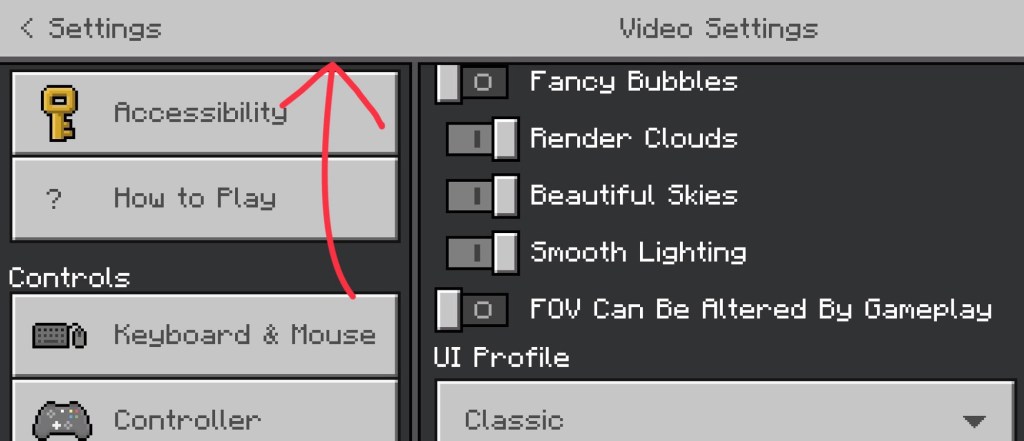
that’s right, it’s top bar! however, the actual texture name is “StoreTopBar.png”
speaking of top bar, what are the best ways to figuring out all of GUI textures components? i mostly do experiment for this kind of stuff, but my general tips are:
#1 Paint Random Textures
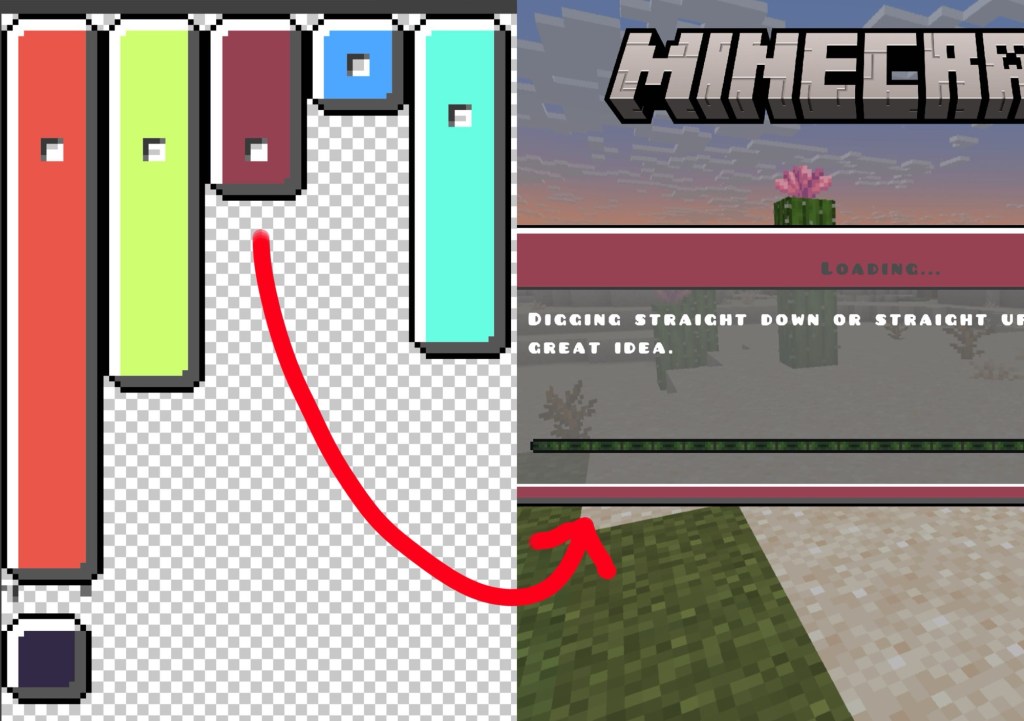
for example, I want to figuring out what is dialog background atlas
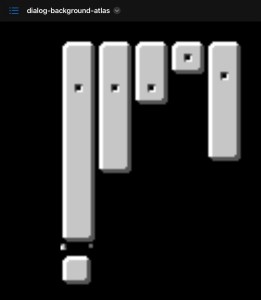
to do this, I’ll fill each background a different color. later on, I use the pack and look for the texture that by any chance got replaced. here, I already found the red one. so this part is for loading screen
#2 Analize texture in the associated JSON UI to the screen
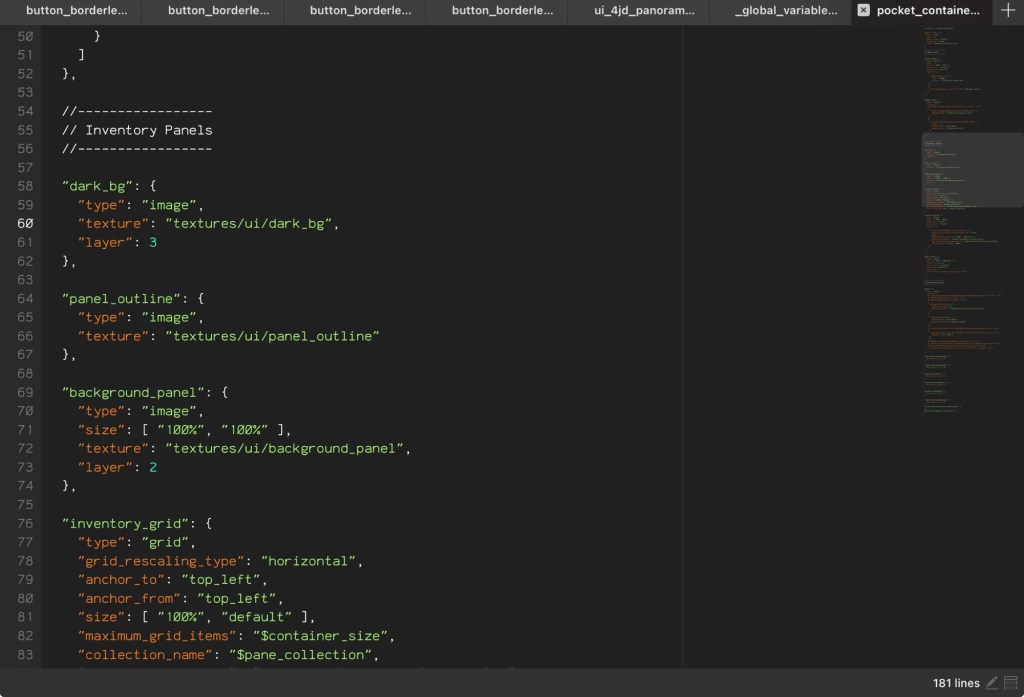
in case you spent too much time on finding textures, consider looking through its json file. this means, you have to go to “ui” folder in the root directory, and then look for the screen name that has the texture you need to find out.
the fastest way is to look for the value of “textures” element. usually it continues with the file address “textures/ui/…..” from that, you can paste the address to your file firectory
my strategy is to go through json files with the name contain “….._screen.json” or json files that stores textures data such as “ui_common.json” and so on
#3 Ask People from pack community
my very last method is to ask people from pack community. but in my experience, it wasn’t that effective for most of part
3 Strategies to find gui texture names:
1. Paint Random Textures
2. Analize texture in the associated JSON UI to the screen
3. Ask People from pack community
after all of process, now you need to create a documentation! write every name of texture that you’ve found on your note. therefore, keep searching on every screen and you will find out which texture works and doesn’t work.
it was indeed time consuming. That’s why In the coming future, I’ve planned to publish my own GUI Documentation in order to ease your project. anyway, just keep searching a texture, and your documentation going to be full.
That’s everything about basic GUI stuff. furthermore, we will explore some of useful features that Bedrock provides for a custom GUI.
Special GUI Features – Nineslice Size
Nineslice size is a crucial feature to have a flexible element on your gui texture, this configuration found inside “ui” folder—a file with .json format that mimics the texture name.

you may never heard about Nineslice before. nine slice is a scaling method that preserves the texture detail by dividing image into nine separate parts (forming a 3×3 grid), allowing the edges part of the texture to be stretched when the texture is resized, think of it like a rubber frame.
when an image got resized without Nineslice technique, it will distort every part of the image and that’s become a problem for game development. however, with Nineslice applied, allowing the borders remain consistent whereas the central area got entirely resized. Nineslice will provide a scalable texture without having to create plenty of different texture size.
Where is Nineslice configuration located?
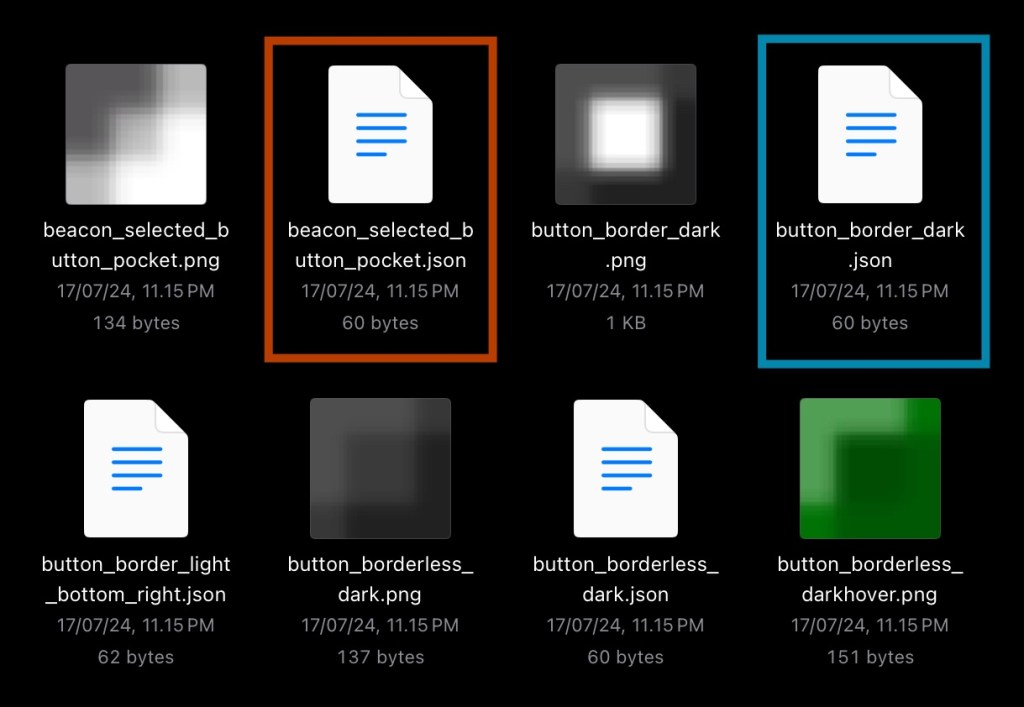
the .json config file can be found inside ui folder, with its name associated with the texture name. meaning you can spot these files alongside your texture name.
in the json file, you’ll see 2 configurations: base_size and nineslice_size
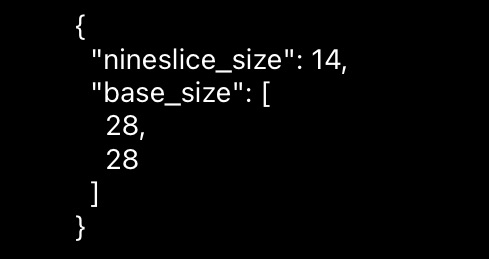
base_size: This variable defines the resolution of the texture. It sets the base dimensions of the texture you’re about to configure. it comes with the format
[ X, Y ]
nineslice_size: This variable defines how the image should be sliced. The numbers you provide here represent the distance from the edge of the texture to the midpoint where stretching should begin. it comes with the following format:
[ X0, Y0, X1, Y1 ], [ X, Y ], and [ N ]
in order to experiment, visualize the slices area, and get the JSON code,
try Nine-Slice Viewer!
How Does Nineslice Size Work?
The numbers you assign in nineslice_size determine the “margin” from the edge inward — a precise range where the image is divided. Essentially, it tells the game which parts of the texture can be stretched without affecting the corners and the inward edges
Apparently, there are two unique formats to specify these slicing values:
#1 [x0, y0, x1, y1]
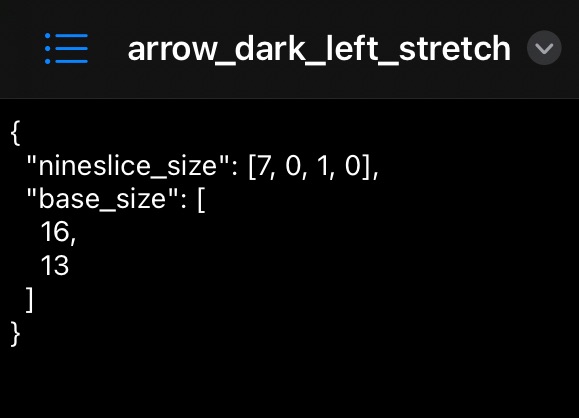
This format provides full control, allowing you to set the slice distance individually for each side of the texture.
x0: Distance from the left edgey0: Distance from the top edgex1: Distance from the right edgey1: Distance from the bottom edge
#2 just a number
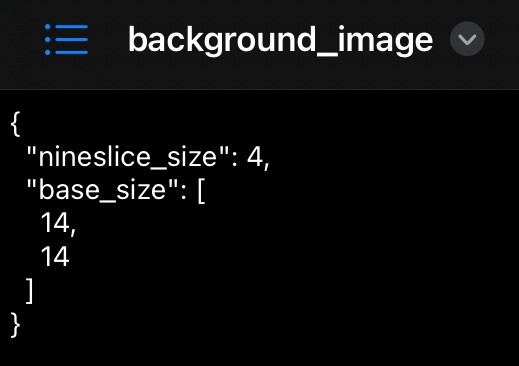
if you only need uniform margins on every side, this single number applies equally to all four edges. This is the quickest and simplest option when symmetrical slicing is desired.
sidenote: i did some experiment with nineslice, if the texture size was too large for the intended size of the element, e.x button. it will occur some unwanted bug on slicing. consider resizing your texture or you can play around with “base_size” value
Even More GUI Features – Global Variables
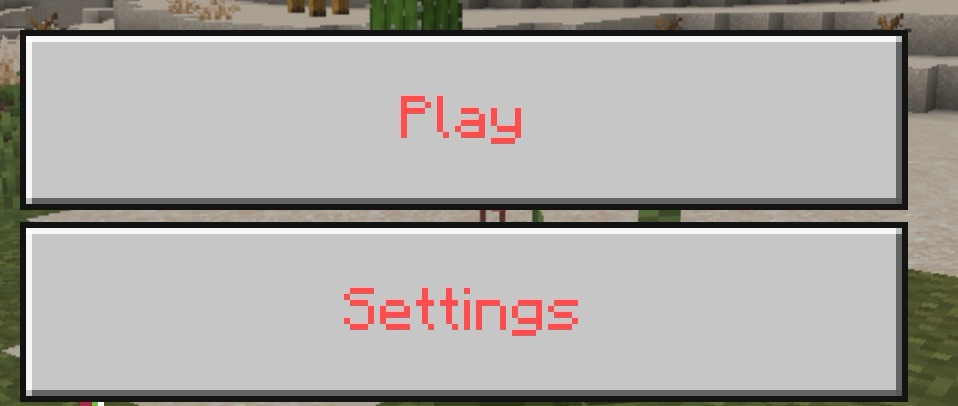
do you want to colorize the gui text rather than stick with boring gray color?
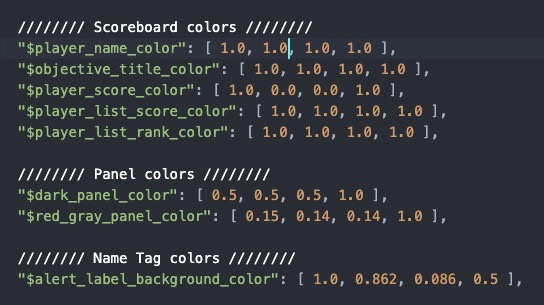
now we will explore the essential feature from GUI – global variables. global variables is a file located in the root directory “ui” folder, typically used for storing values from variables.
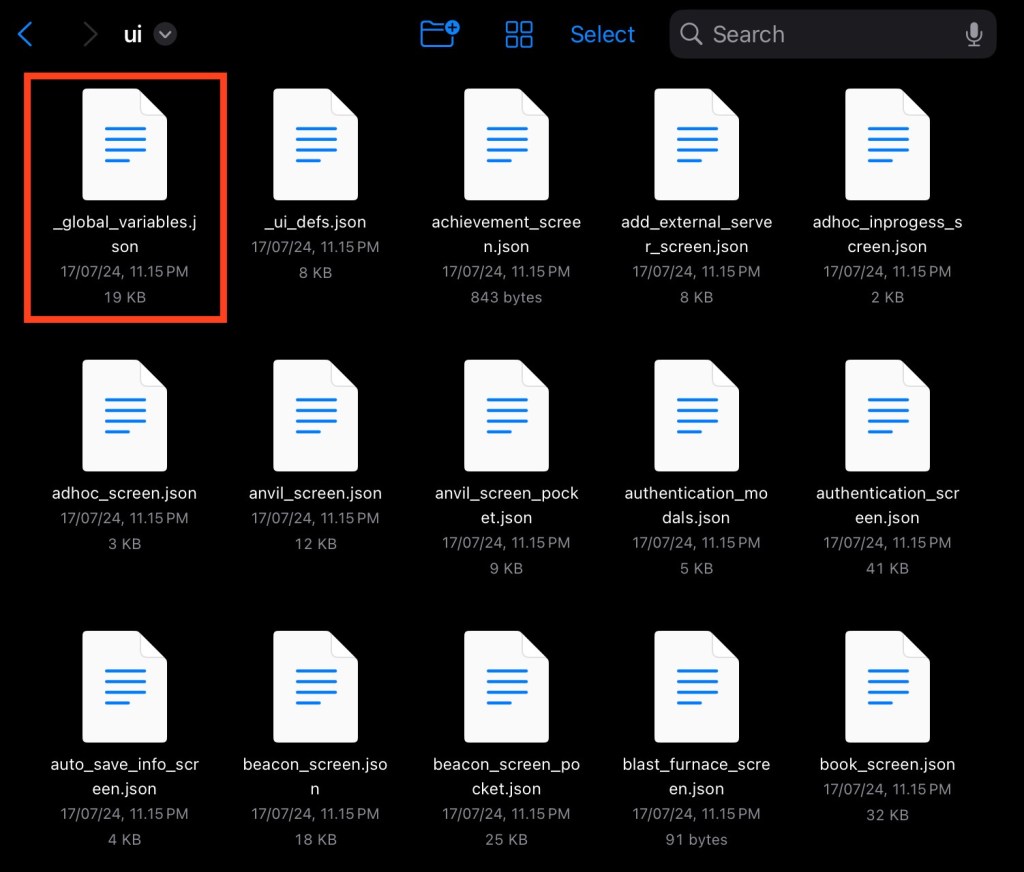
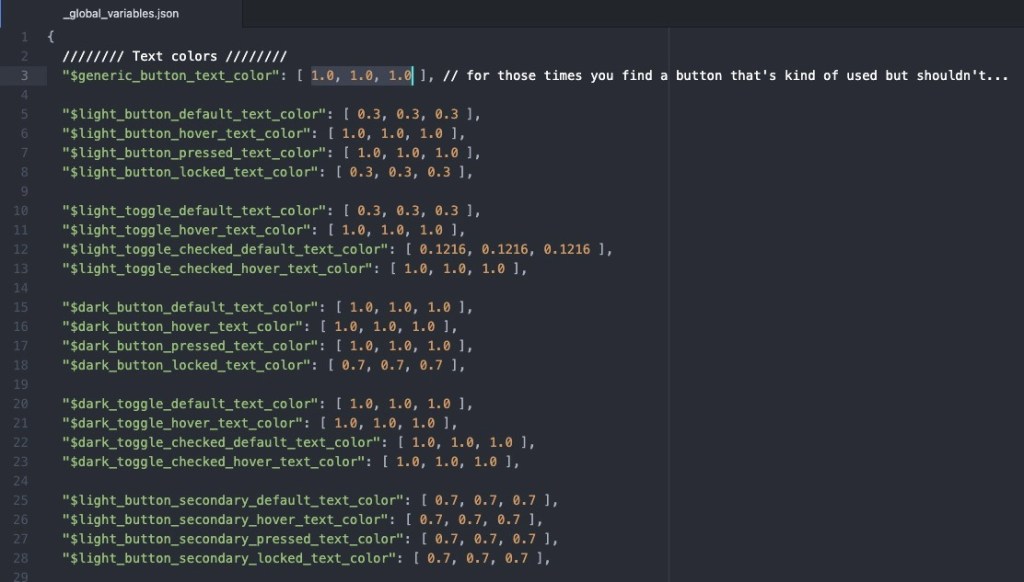
let’s get out from “textures” folder to “ui” folder. the file named “_global_variable.json”, located below settings_sections folder. inside of the file, you can see a lot of variables and values being shown. most of these variables are the color variables from Minecraft GUI text with its color stored in the value.
now you might ask, how do we customize these values when we don’t know what it means?
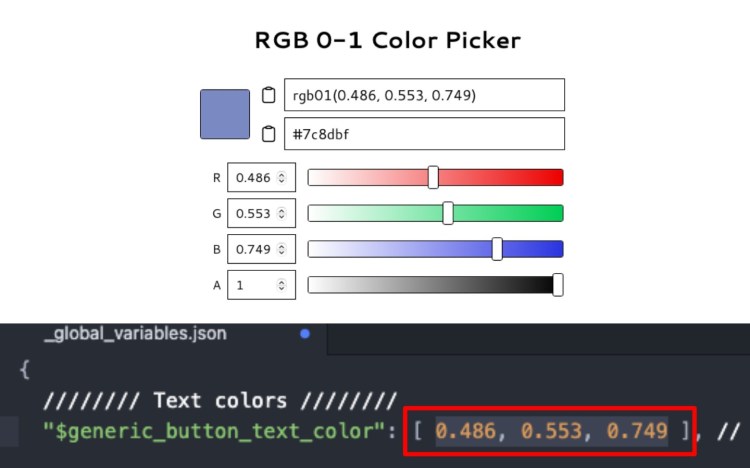
it was RGB 0-1 color codes
these weird looking number is actually a form of color codes named “RGB 0-1”.
the way it works is similar to RGB format (red, green, blue) with the max value from 0 to 255, the only difference is the addition of square brackets – because it was a json array and the number divided by 255. needless to say, the max value of RGB 0-1 is 1
in order to get any color you want, going to RGB 0 to1 Color Picker website will get the job done, copy all numbers and paste it inside the square bracket.
you can also mix the color directly on the code by knowing some RGB basics:
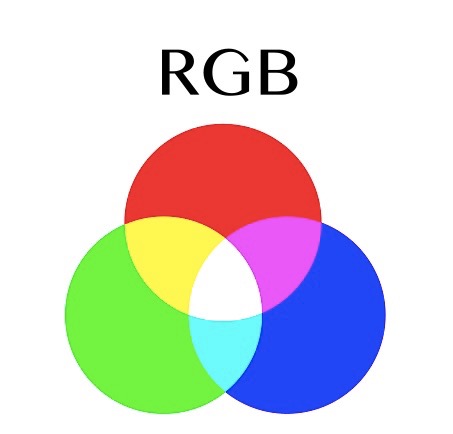
[ 0, 0, 0 ] = Black
[ 1, 1, 1 ] = White
[ 1, 0, 0 ] = Red
[ 0, 1, 0 ] = Green
[ 0, 0, 1 ] = Blue
[ 1, 1, 0 ] = Yellow
[ 0, 1, 1 ] = Light Blue
[ 1, 0, 1 ] = Purple
also, there is a color code with four color channels, called RGBA. the A itself stands for Alpha. unfortunately, I don’t know how to use the Alpha Channel since i’ve tried some experiment and it doesn’t change the text transparency.
Customize GUI is a long-tough process, i’ve been planned this tutorial since two years ago, but only be able to do it right now due to procrastination. by the way if you’re interested with Bedrock resource pack, i will post more articles about gui topic and bunch of bedrock resource pack tutorials.
checkout my video!
How to Create Animated Inventory
useful Links:
Nineslice Visualizer (Bedrock Wiki)
Global Variables Documentation (Discontinued)
some informations might had been taken and recycled from the following links:
https://gamemaker.io/en/blog/slick-interfaces-with-9-slice
https://wiki.bedrock.dev/json-ui/json-ui-intro#global-variables
https://youtu.be/jNNok7N5MLY
https://youtu.be/OOClmdS6wIw?si=6KJQXi2eFYyFAfUT
https://youtu.be/QhJkCDIZ-NU

You must be logged in to post a comment.